What Happens During a Professional Chimney Inspection in Milpitas
Neglecting your venting system can quietly lead to catastrophic masonry damage, toxic flue gas backup, or even active house fires. In Milpitas, many homeowners assume their fireplaces are ready for the winter season without a second thought, only to realize too late that hidden structural vulnerabilities or blockages have developed over months of disuse. A routine assessment is the only reliable way to catch these hazards before they escalate into dangerous and costly emergencies.
Understanding the standard chimney inspection process helps you prepare your household and make sense of the technician’s findings. Standardized levels of inspection establish a clear framework for what needs to be checked, ensuring no critical safety components are overlooked. Whether you are prepping for seasonal use, buying a new home, or investigating draft issues, this step-by-step guide walks you through exactly what occurs during a professional assessment.
To get the most accurate picture of your system’s health, booking comprehensive chimney services is the essential first step before any maintenance or restoration work can begin.
Before You Start: Preparation Checklist
To ensure a smooth, thorough, and efficient inspection, a small amount of preparation goes a long way. Before the technician arrives at your property, review this basic checklist:
- Allow the system to cool: Do not burn any wood, gas, or pellets in your fireplace for at least 24 hours prior to the appointment.
- Clear the hearth area: Move valuable items, decorations, firewood, and furniture at least six to eight feet away from the fireplace opening to allow plenty of room for tools and protective coverings.
- Secure household pets: Keep dogs, cats, or other pets in a separate room to prevent them from getting startled by unfamiliar equipment or sounds.
- Provide clear access: Ensure there is an unobstructed path from the front door to the fireplace, as well as easy access to the attic, crawl space, or exterior cleanout doors if applicable.
The Chimney Inspection Process: A Step-by-Step Guide
The standard evaluation follows a systematic sequence to verify the integrity of the fireplace and venting system. While some assessments require deeper structural investigations, most routine visits follow these core steps.
Step 1: Visual Assessment of the Firebox and Hearth Area
The technician begins inside the living room, focusing on the immediate fireplace opening. They inspect the hearth extension to verify it extends far enough to protect the surrounding flooring from stray embers. Next, they closely examine the firebox lining, checking the firebrick and mortar joints for hairline fractures, gaps, or spelling where the material has begun to crumble. This step ensures that active fire remains safely contained within the designed chamber and cannot transfer heat directly to the home’s wood framing.
If you want it handled correctly the first time, consider professional how to choose milpitas chimney repair in Concord.
Step 2: Damper and Throat Operations Check
Using a high-powered flashlight, the inspector looks upward into the throat of the fireplace to check the damper assembly. They manually open and close the damper to verify it moves freely, seals tightly, and is not warped or rusted. A faulty damper can cause severe draft problems, allowing cold air to pour into your home or preventing smoke from rising freely. They also examine the smoke shelf directly behind the damper, looking for fallen debris, soot accumulations, or animal nesting materials that could block airflow.
Step 3: Internal Flue Inspection via Specialized Camera Systems
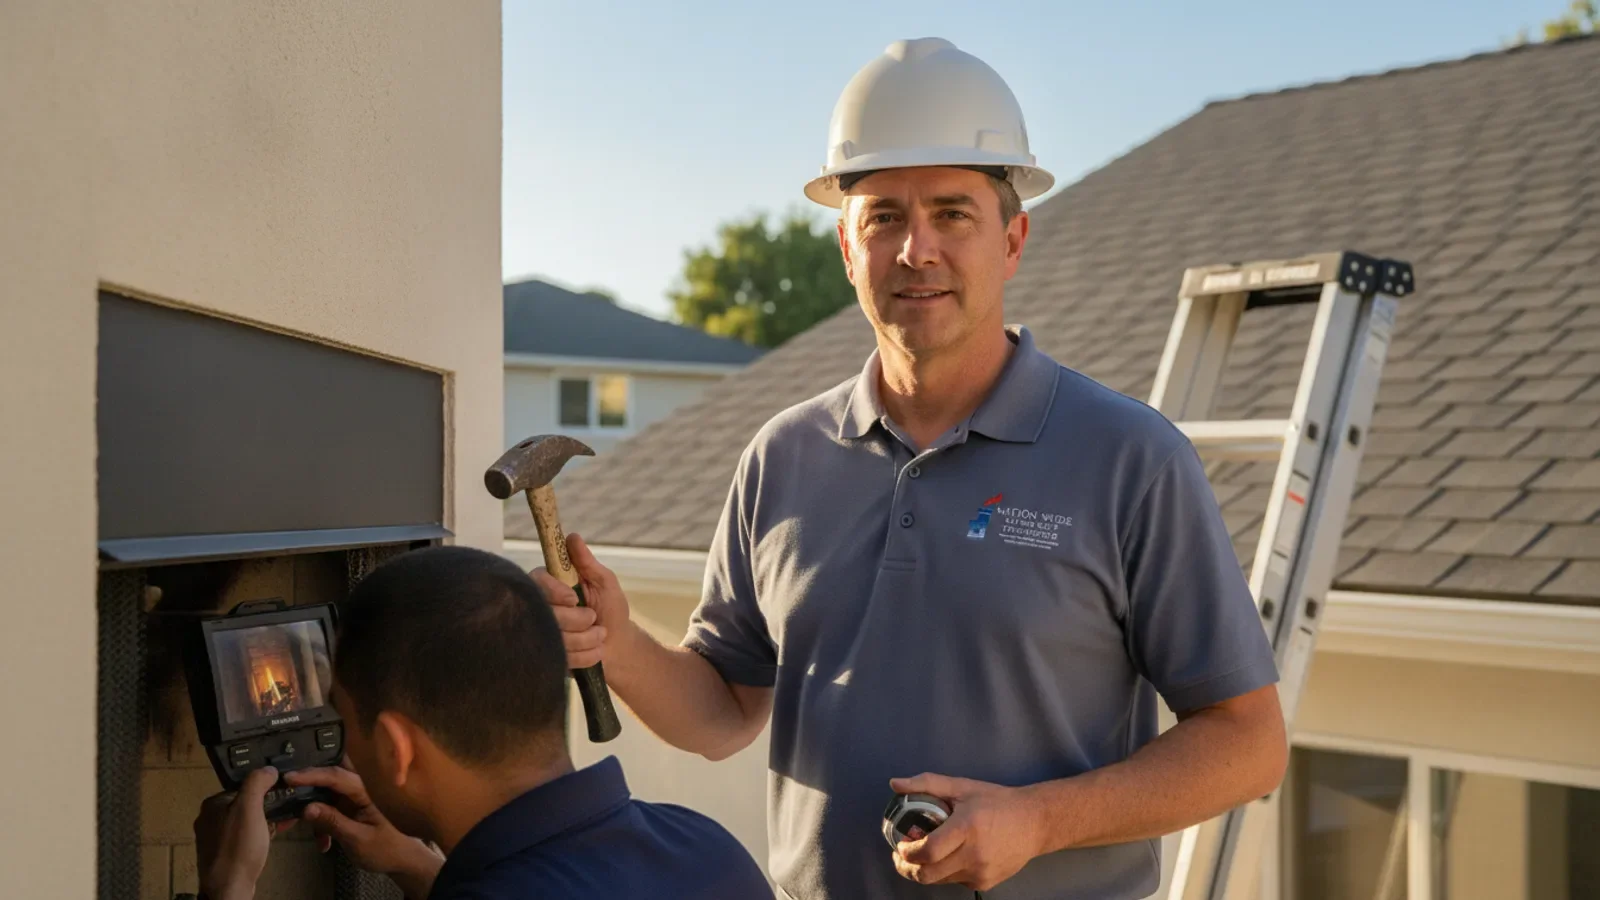
A crucial part of the process involves examining the interior of the flue liner, which is otherwise impossible to see clearly from the hearth. The technician uses a specialized chimney camera system, slowly lowering or pushing the camera up the entire length of the flue. The camera transmits a real-time, high-definition feed to a monitor, allowing the inspector to spot hidden tile cracks, misaligned flue liners, or signs of intense heat stress. This step is also vital for identifying dangerous, glossy black deposits, which you can learn more about by reading our guide on dangerous creosote buildup causes.
Step 4: Roof-Level Exterior Examination
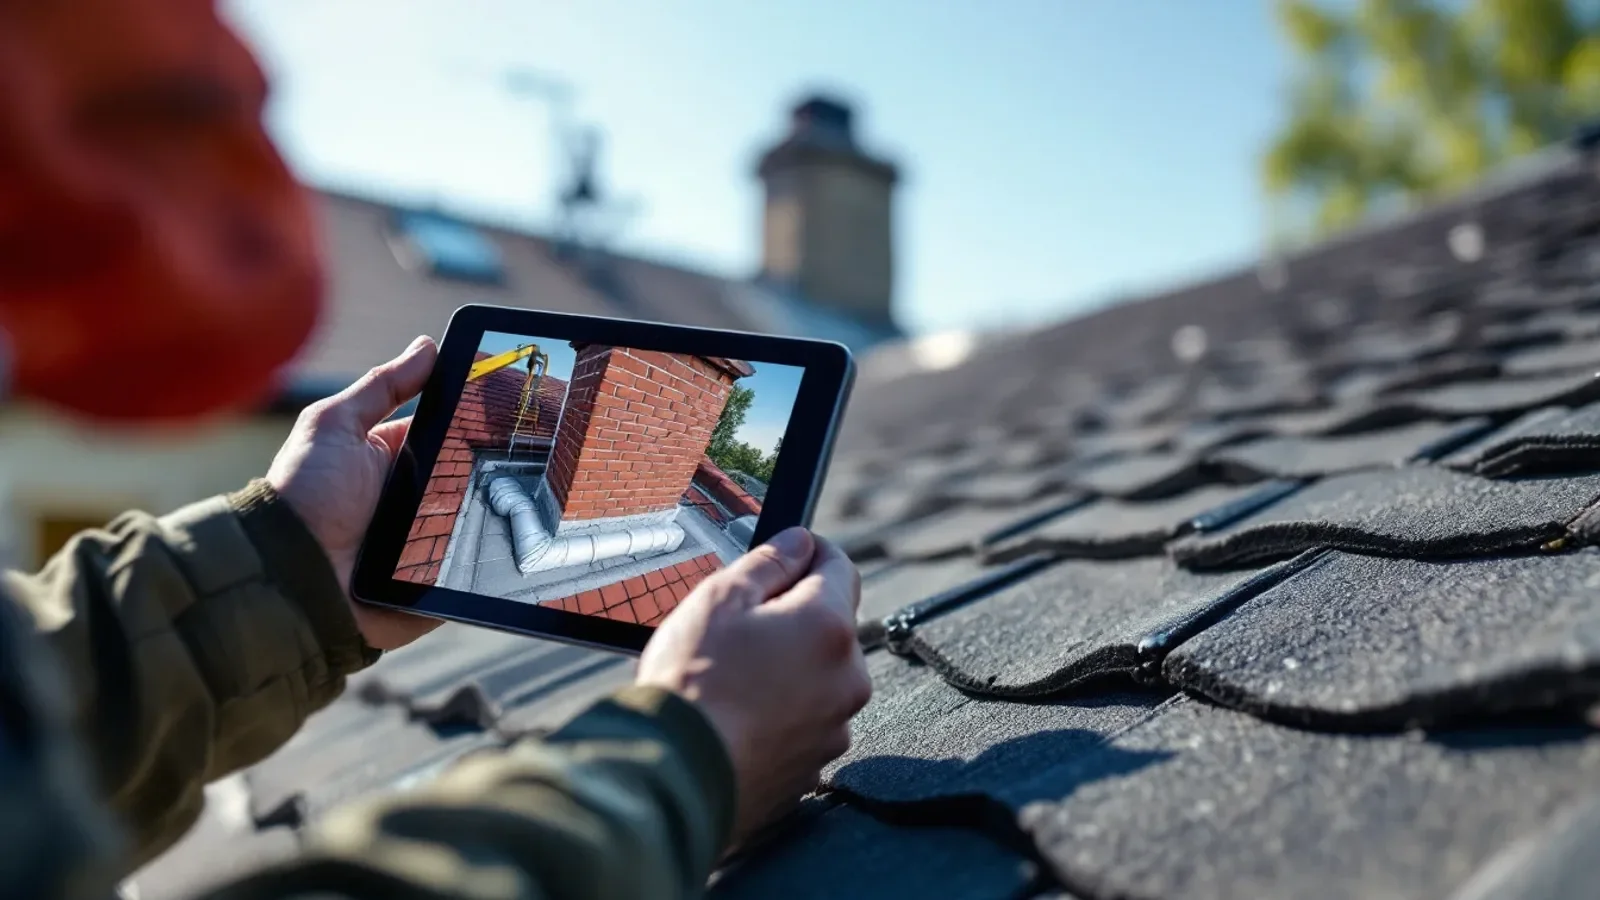
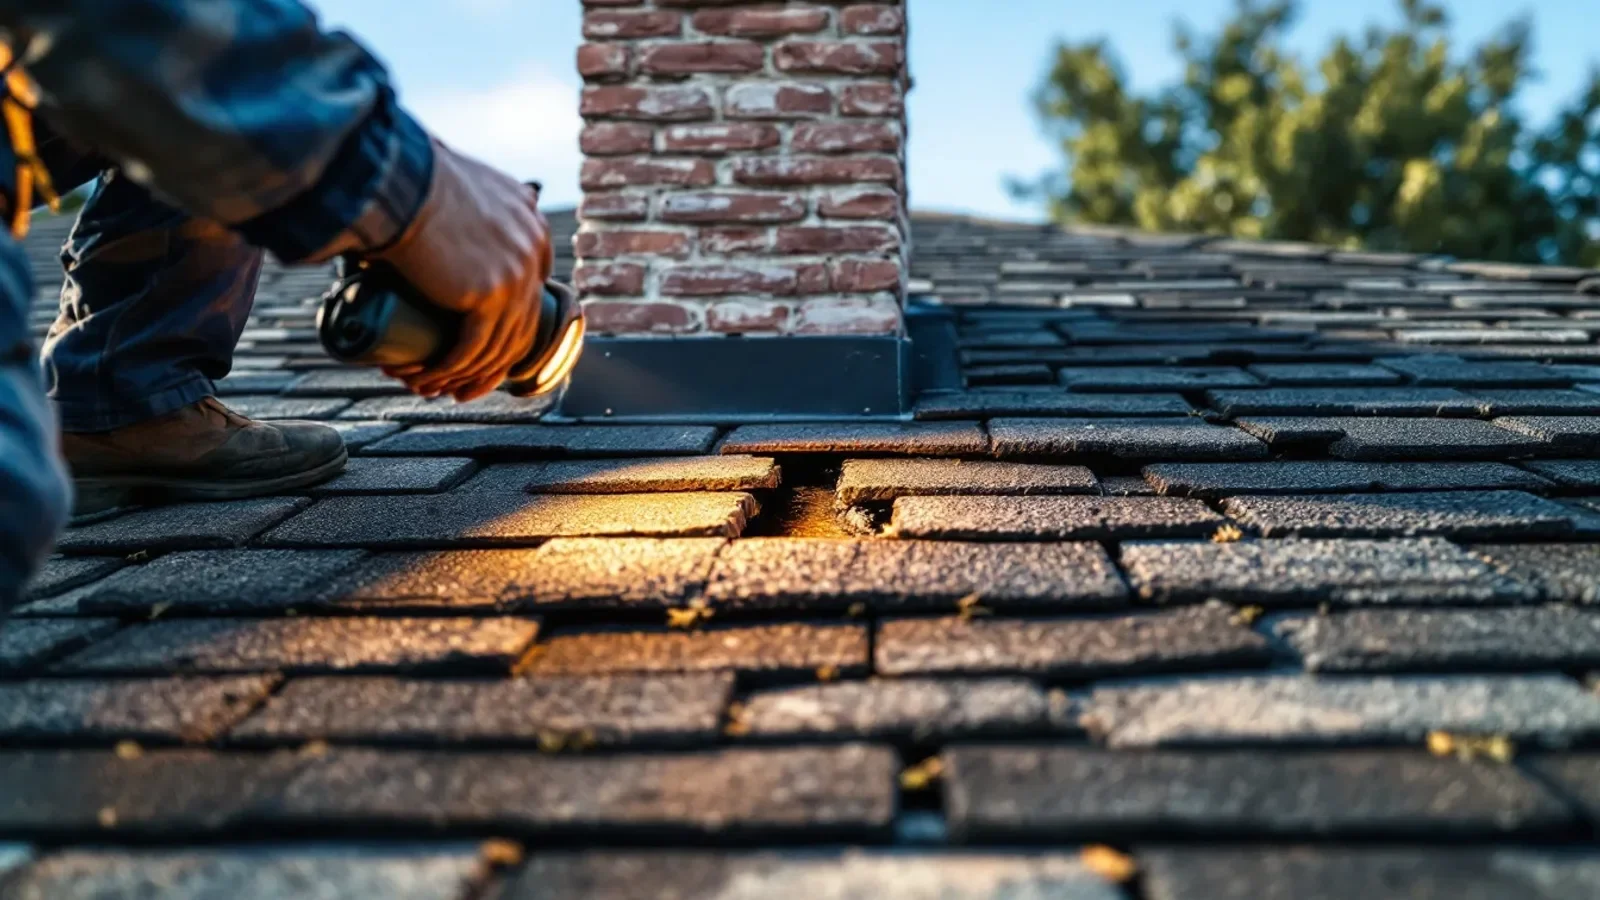
Weather and safety permitting, the inspector accesses the roof to examine the exterior masonry, crown, and cap. They inspect the chimney crown, the concrete slab at the top, looking for cracks that could allow rainwater to seep down into the brickwork. They check the metal flashing where the structure meets the roofline, ensuring it remains watertight. Finally, they verify that the chimney cap and spark arrestor are securely installed, clear of leaves, and free of rust or physical damage that might invite birds, squirrels, or rain inside.
Step 5: Structural Masonry and Vertical Alignment Check
Standing back from the home, the technician evaluates the physical structure’s vertical alignment to ensure it is not leaning or separating from the main house framing. They examine the exterior bricks and mortar joints from top to bottom, checking for spalling, missing mortar, or water saturation. In older properties, shifting foundations or seismic activity can cause subtle cracks that compromise the entire structure. If physical decay is noted, the technician will outline the necessary masonry repairs.
Step 6: Level 2 Inspection Verification (When Required)
Many Concord homeowners rely on expert how to choose milpitas chimney repair in Concord for exactly this.
While a Level 1 inspection covers readily accessible portions of the system, certain events require a more thorough Level 2 evaluation. If you have recently experienced a chimney fire, earthquake, or are buying or selling a home, a Level 2 inspection is mandatory. This process includes all steps of Level 1, plus the mandatory use of the internal camera system, and an examination of accessible areas in attics, basements, and crawl spaces. It ensures no concealed structural elements have suffered damage that could cause a future failure.
Step 7: Delivery of the Final Written Report and Recommendations
Once the physical evaluation is complete, the inspector compiles their findings into a detailed written report. This documentation includes photographs of any damaged areas, a checklist of all components examined, and a clear safety rating. If hazards are identified, the report will recommend specific steps to resolve them. This report is incredibly valuable, as highlighted in our guide on post-inspection chimney care, helping you prioritize repairs and budget for necessary maintenance.
The Milpitas Climate and Building Landscape
Milpitas features a unique blend of architectural styles, ranging from mid-century ranch-style homes in established neighborhoods near the foothills to modern townhome developments closer to the city center. Many of the older homes built in the 1960s and 1970s feature traditional clay-tile flue liners and brick masonry chimneys. Over decades, the subtle ground movements common to the Santa Clara Valley can cause clay liner joints to shift or crack, allowing hot flue gases to escape into attic cavities.
Additionally, while the local climate is generally mild, seasonal winter rains can put a heavy strain on exterior masonry. When water penetrates hairline cracks in brick or concrete crowns, the moisture can weaken the structure, leading to spalling and mortar deterioration. Understanding these regional factors is key to choosing a team that knows exactly where to look for local vulnerabilities. For advice on selecting the right team, refer to our article on hiring a professional chimney sweep.
When to Call a Professional in Milpitas
Because structural evaluations and flue flue diagnostics require working at heights and handling highly specialized imaging equipment, chimney inspections should never be attempted as a DIY project. Homeowners should schedule a professional assessment if they notice any of the following warning signs:
Ready for the next step? Learn how how to choose milpitas chimney repair services in Concord can help and reach out to the team.
- A strong, smoky, or asphalt-like odor coming from the fireplace when it is not in use.
- Excessive soot or dark, oily flakes falling down into the firebox.
- White, powdery staining, known as efflorescence, appearing on the exterior brickwork.
- Drafting issues where smoke enters the room instead of rising up the flue.
- Visible cracks in the concrete crown or crumbling mortar joints on the roofline.
If you suspect physical deterioration but are unsure of the extent of the damage, reviewing the signs of chimney damage can help you determine the appropriate level of urgency.
Frequently Asked Questions
How often should I have my chimney inspected?
According to the National Fire Protection Association (NFPA), chimneys, fireplaces, and vents should be inspected at least once a year for soundness, freedom from deposits, and correct clearances. Even if you do not use your fireplace frequently, nesting pests, weather wear, and natural settling can create hazards over the course of a year.
What is the difference between a Level 1 and Level 2 inspection?
A Level 1 inspection is a visual check of all readily accessible portions of the chimney and fireplace during routine maintenance. A Level 2 inspection is more comprehensive, requiring a video camera scan of the flue interior and checking accessible areas in attics, basements, and crawl spaces. Level 2 is required during real estate transactions, system modifications, or after an unusual event like a chimney fire or earthquake.
Do I need to clean my chimney before the inspection?
No, you do not need to clean it beforehand. In fact, seeing the pattern and thickness of soot or creosote accumulation helps the technician understand how your system is burning and drafting. If the soot buildup is heavy enough to block their view of the underlying liner, the inspector will recommend performing a sweep as part of the service.
How long does a professional chimney inspection take?
A standard Level 1 or Level 2 inspection typically takes between 45 minutes to an hour and a half, depending on the ease of roof access, the number of flues being evaluated, and whether any complex masonry issues are uncovered during the visual scan.
Protect Your Home with Regular Assessments
A professional inspection is the cornerstone of fireplace safety, providing peace of mind and protecting your property from hidden structural hazards. By identifying minor mortar cracks, flue liner gaps, or moisture intrusion early, you can avoid complex restoration work and ensure your system operates safely all year round. Ready to ensure your home is fully protected? Contact Nation Wide Chimney Sweep & Repair Concord today to book a comprehensive safety assessment with our experienced team.