Milpitas Post-Seismic Chimney Checklist: Step-by-Step Safety Guide
An undetected crack in a masonry chimney after a minor tremor can turn a cozy fireplace evening into a severe household hazard. When ground movement shifts your home, the heavy, rigid structure of a brick chimney often absorbs a massive amount of stress. Ignoring the subtle signs of displacement can lead to toxic flue gas leakage, house fires, or structural collapse during the next seismic event. For homeowners in the South Bay, performing a thorough visual assessment is an essential part of regular home maintenance.
Following a tremor, conducting a systematic post-seismic chimney inspection helps you identify hidden structural shifts early, before they worsen into hazardous failures. This guide provides a clear, practical sequence to evaluate your brickwork, flue liner, and attic space safely so you can determine if you need to schedule professional chimney repair to restore your system’s structural integrity.
Before You Start: Safety Essentials and Tools
Do not climb onto your roof immediately after a tremor or when the structure feels unstable. This checklist is designed to help you perform a safe, ground-level and interior visual scan before determining if you need to bring in professional seismic chimney damage repair specialists. Gather these basic items before you begin:
- A high-powered flashlight (essential for inspecting dark flue spaces and attic corners)
- A smartphone or digital camera with a flash and zoom lens to document physical changes
- A pair of binoculars for clear ground-level viewing of the roofline and chimney exterior
- A simple bubble level to check for vertical plumb alignment
- A pair of safety glasses and protective gloves for handling loose debris near the fireplace hearth
Step 1: Check the Fireplace Hearth and Firebox for Debris
Begin your post-seismic chimney inspection inside your home at the lowest point of the system. Open the fireplace doors or screen and inspect the interior floor (the hearth) and the walls of the firebox. Look closely for fallen chips of brick, crumbling mortar dust, or pieces of clay flue tile that may have broken off and dropped down from the chimney flue above. If you notice a fresh pile of red brick dust, sandy mortar particles, or flat pieces of ceramic-like material, it is a clear sign that the upper structure has experienced grinding or fracturing during the tremor.
Step 2: Inspect the Attic Space for Joist Separation
Head up to your attic with your flashlight to examine where the chimney structure passes through the ceiling and roof framing. This is one of the most vulnerable intersection points in local homes. Look closely at the gap between the masonry bricks and the surrounding wooden ceiling joists and rafter framing. Look for signs of wood gouging, fresh wood splinters, or newly exposed unpainted wood that indicates the chimney shifted laterally and scraped against the house structure. Ensure that the chimney is not leaning against the wooden framing, as a shifted chimney can transfer immense weight to the attic structure, leading to sagging ceilings or framing failure.
Step 3: Analyze the Roofline Intersection from the Ground
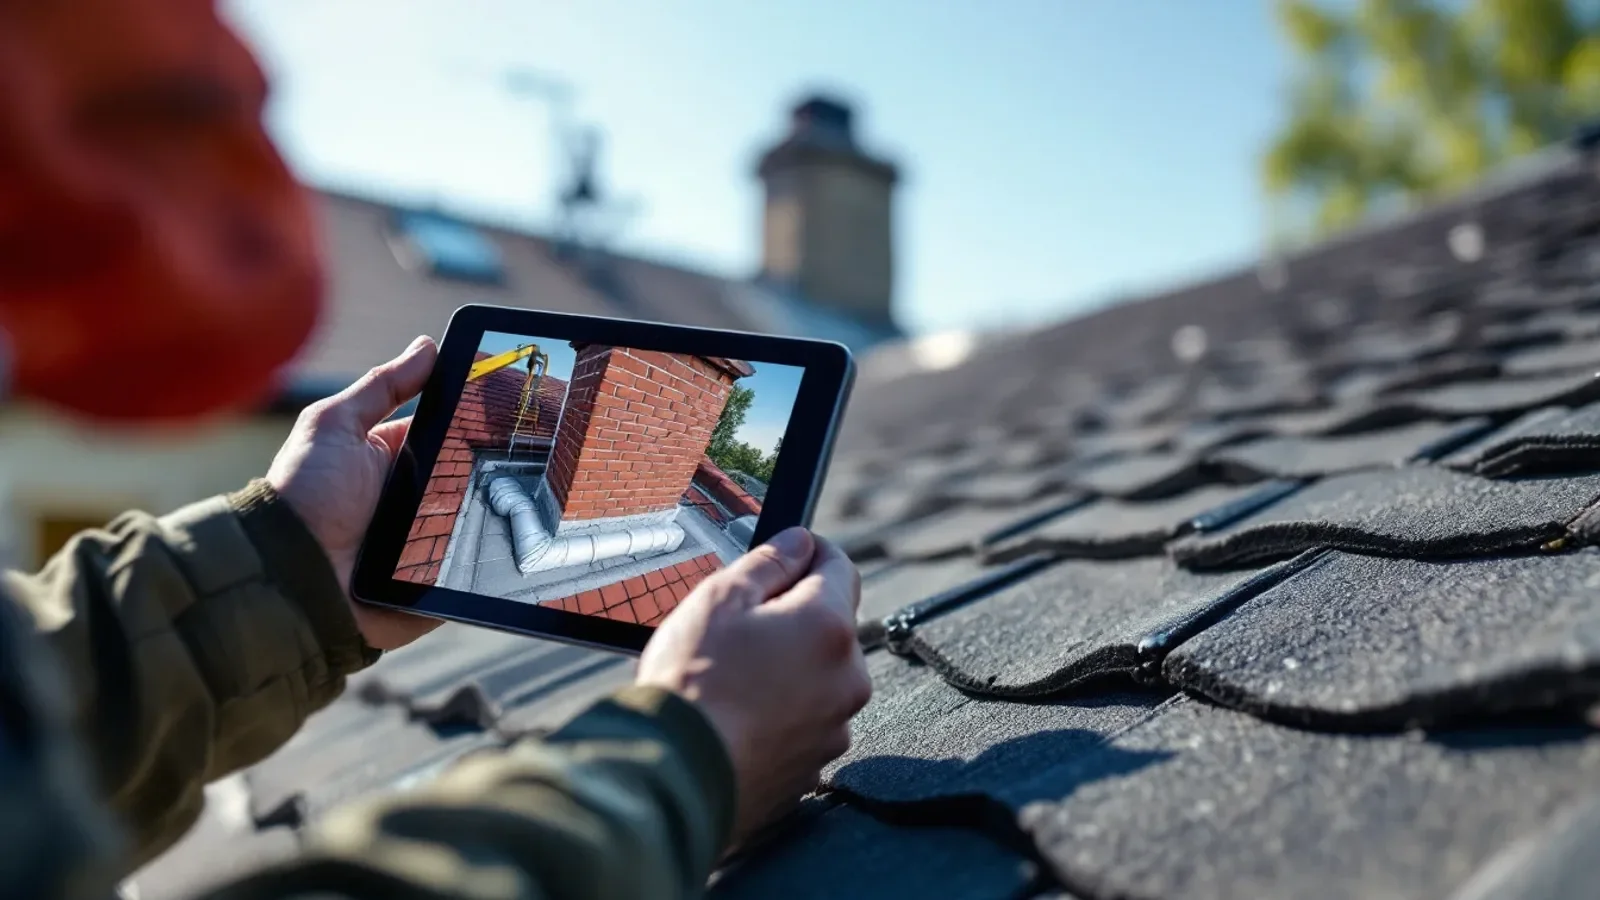
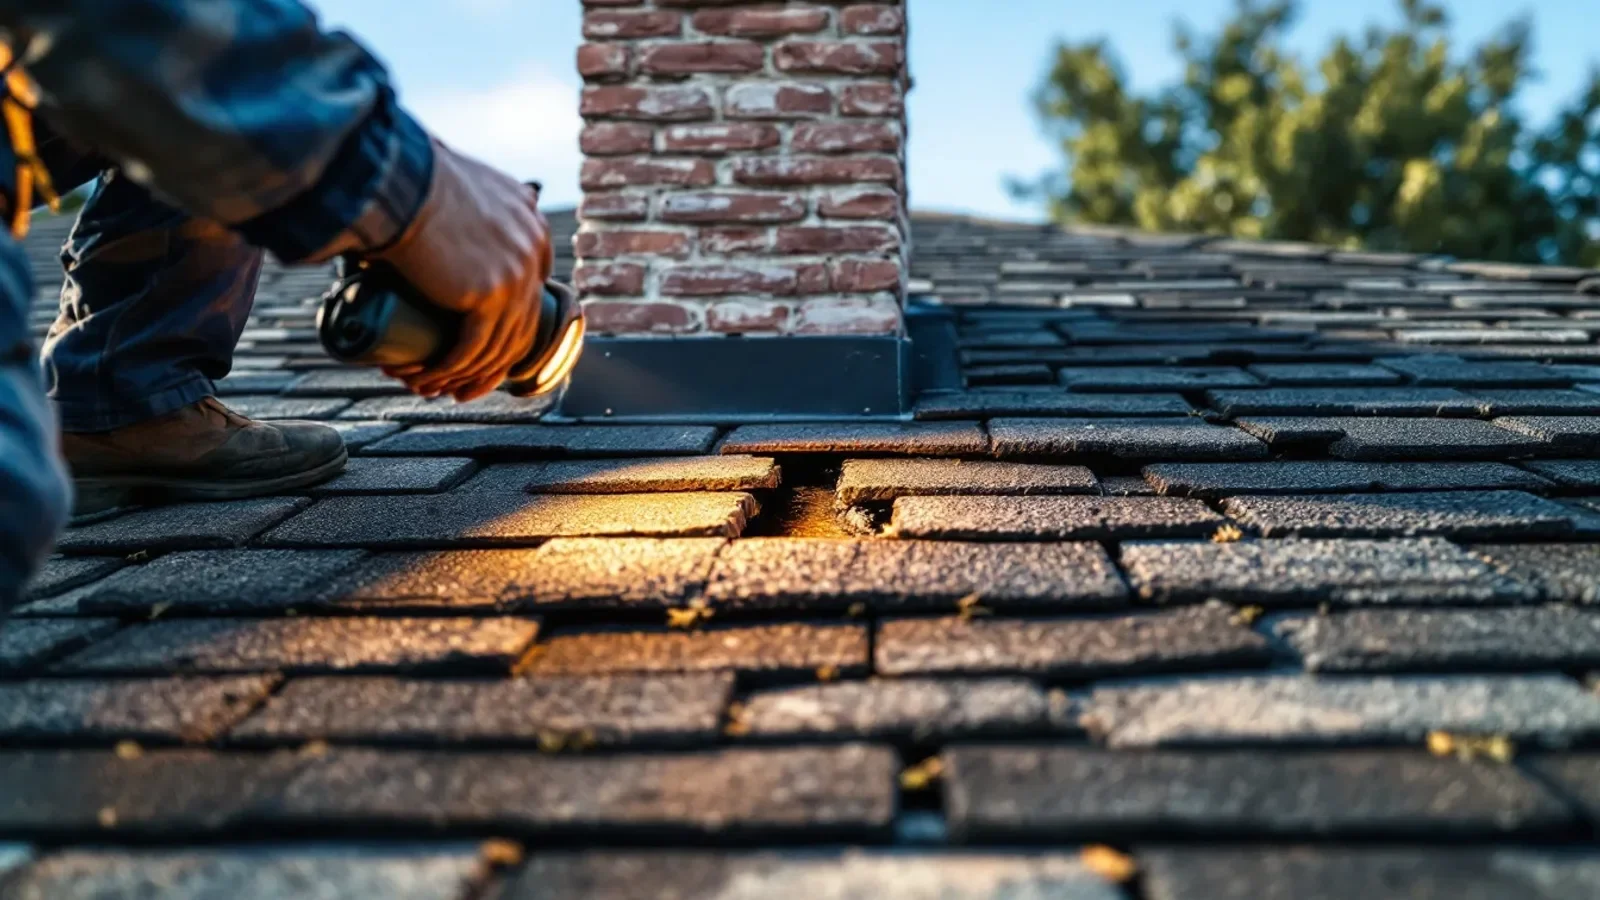
Walk outside and stand back from your home where you have a clear, unobstructed view of the entire chimney stack. Use your binoculars to scan the area where the brick structure meets the roofline. Pay close attention to the metal flashing, which is the protective metal sheeting wrapped around the base of the chimney stack to keep water out. If the chimney has shifted or tilted, you will often see a visible gap between the metal flashing and the masonry, or you may notice that the flashing has buckled, warped, or pulled away from the roof shingles entirely. This separation creates a direct path for rainwater to pour into your home, making immediate protection essential. For details on preventing subsequent moisture entry, read our guide on protecting your chimney from South Bay water damage.
If you want it handled correctly the first time, consider professional how to choose milpitas chimney repair in Concord.
Step 4: Check the Chimney Structure for Vertical Plumb
While outside, use your binoculars to inspect the vertical lines of the chimney stack against the straight corners of your home’s siding or roofline. Look for any visible tilting, bowing, or leaning. If you can safely access the exterior base of the chimney, place your bubble level flat against the brickwork to check if it remains perfectly vertical. A chimney that is no longer plumb has suffered structural foundation failure or joint shearing. If you notice any visible tilt or lean, do not use your fireplace, and keep family members away from the yard directly beneath the leaning stack, as it poses an immediate collapse hazard.
Step 5: Scan the Exterior Masonry Joints for Cracking
Use your binoculars to perform a slow, methodical scan of the mortar joints between the bricks from the base of the chimney all the way to the top crown. Look for stepped or diagonal cracks that resemble stairs running through the mortar lines. Examine the bricks themselves for clean, horizontal fractures splitting individual bricks in half. If you notice horizontal cracks in the mortar joints, particularly at the roofline, this indicates the top of the chimney flexed or swayed at a different rate than the base. If you spot these patterns, your chimney requires professional expert masonry repair to stabilize the mortar joints and replace fractured bricks before they loosen further.
Step 6: Inspect the Chimney Crown and Cap from a Safe Distance
Focus your binoculars on the very top of the chimney stack to inspect the chimney crown (the concrete slab that seals the top of the brickwork) and the metal rain cap. The concrete crown is highly susceptible to cracking during seismic shaking. Look for new fissures, missing chunks of concrete, or a tilted rain cap. A cracked crown allows rainwater to seep into the internal structure of the brick chimney, accelerating decay during the winter rainy season. If the crown is fractured or missing sections, it must be sealed or rebuilt to protect the underlying masonry structure.
Understanding the Milpitas Seismic Landscape
Milpitas homes sit in a unique geologically active zone, nestled between the Hayward Fault to the east and the Calaveras Fault running nearby. This geographical positioning makes our local housing stock particularly vulnerable to ground acceleration. Many homes in Milpitas neighborhoods feature traditional brick chimneys constructed decades ago. These older masonry structures lack the internal steel rebar reinforcement required by modern California building codes, making them highly susceptible to brittle fracturing when seismic waves roll through the Santa Clara Valley clay soils.
Furthermore, local environmental conditions can exacerbate seismic vulnerabilities. The South Bay experiences hot, dry summers followed by wet winters, causing local soils to expand and contract. This cyclical shifting can subtly weaken a chimney’s foundation over time. When a tremor occurs, a chimney already compromised by soil movement and mortar degradation is much more likely to crack or pull away from the home’s main structure. Regular checks are not just about checking for damage after a major event; they are about understanding how our local environment and soil dynamics affect your home’s structural stability year-round.
Many Concord homeowners rely on expert how to choose milpitas chimney repair in Concord for exactly this.
When to Call a Professional in Milpitas
While a homeowner-led visual checklist is an excellent first line of defense, it cannot replace a professional diagnostic inspection. If you discover any of the following issues during your walk-through, you should immediately stop using your fireplace and contact a certified professional for a comprehensive evaluation:
- Any visible leaning, tilting, or separation of the chimney stack from your home’s exterior wall
- Debris, bits of brick, or clay flue liner fragments found on your fireplace hearth
- Horizontal cracks running through mortar joints, especially at or above the roofline
- A buckled or separated metal flashing connection at the roof deck
- Smells of smoke or gas inside the house when using the fireplace, indicating a ruptured internal flue liner
A certified technician can run a specialized chimney camera down the entire length of the flue to detect micro-fractures in the clay liner that are invisible from the outside. They can also perform structural load testing to ensure your masonry is stable enough to withstand future tremors.
Frequently Asked Questions
Can I still use my fireplace if I only see tiny hairline cracks in the exterior mortar?
No, you should avoid using your fireplace until those cracks are professionally inspected. Even minor hairline cracks on the exterior can indicate that the internal flue liner has suffered matching fractures, which can allow dangerous carbon monoxide, toxic gases, or stray sparks to escape into your home’s walls.
How often should I perform a chimney safety check in Milpitas?
You should run through this visual safety checklist after any felt seismic tremor, even minor ones. Additionally, it is highly recommended to perform a visual scan every autumn before lighting your first fire of the season to catch any damage that occurred over the summer months.
Why did my chimney crack when my neighbors’ chimneys look perfectly fine?
Chimney vulnerability depends on several factors, including the age of the structure, whether it has internal steel reinforcement, the type of soil your home is built on, and how the seismic waves traveled through your specific neighborhood block. Older, unreinforced chimneys are always at a higher risk of cracking during tremors.
Ensure Your Chimney’s Post-Tremor Structural Integrity
Your chimney is one of the heaviest and most vulnerable components of your home. Taking a few minutes to systematically walk through this checklist after a tremor can protect your family from severe hazards like structure fires, flue gas leaks, and masonry collapse. If you have completed this checklist and noticed shifted bricks, cracked mortar, or fallen debris inside your firebox, do not light a fire. Schedule a thorough professional chimney inspection today to have a certified technician inspect the entire flue structure and ensure your system is completely safe to use.