
Evaluating Chimney Repair and Structural Safety Concerns for Milpitas Masonry
A masonry fireplace serves as a beautiful centerpiece for a home, but it is also a complex structural element that bears immense weight. In Milpitas, California, where shifting clay soils and microclimate variations subject residential properties to unique environmental stresses, keeping a close eye on your brickwork is essential. Left unaddressed, minor hairline cracks can quickly evolve into major structural hazards that threaten your family and your property. Understanding the core mechanics of masonry degradation allows local homeowners to make informed decisions about necessary chimney repair and maintenance before minor issues escalate into costly emergencies.
Your Chimney Is Shifting (and It Is Not Just Settling)
Many homeowners assume that a slight tilt or a small gap opening up between their exterior brickwork and the siding of their home is simply a normal part of a house settling over time. This is a dangerous misconception. A leaning chimney stack is a major structural red flag that indicates a failure in the supporting foundation or the tie-in connections holding the masonry to the main framing of your Milpitas home.
The Physics of a Tilting Masonry Stack
An average residential brick chimney weighs several tons. This immense weight must be evenly distributed across a dedicated concrete footing. If this footing is poured too thin, lacks proper steel reinforcement, or rests on unstable soil, the entire structure will begin to pivot. As the stack tilts away from the house, it exerts extreme leverage on the fireplace throat and smoke chamber, tearing internal components apart and creating direct paths for hazardous flue gases to enter your living spaces.
How Heavy Bay Area Soils Impact Masonry Foundations
Milpitas features expansive clay soils that swell significantly when wet and shrink during dry summer spells. This constant cyclic movement puts tremendous pressure on concrete footings. Over decades, this movement can crack the footing beneath a heavy fireplace, causing one side to sink faster than the other. When this happens, local homeowners must seek professional chimney services to assess the footing stability and implement structural stabilization rather than simply patching the visible exterior cracks.
Recognizing the Gap: Siding vs. Brick
One of the easiest ways to spot structural movement is to inspect the junction where your fireplace masonry meets your home siding. If you notice a widening gap, or if you see that old caulking has sheared apart, the chimney is actively pulling away. Do not attempt to fix this by simply filling the gap with expanding foam or silicone sealant. This cosmetic quick-fix conceals a severe structural issue that will only continue to worsen.
The Chemistry of Mortar Decay: Spalling and Tuckpointing
Brick and mortar may seem virtually indestructible, but they are highly porous materials susceptible to chemical and physical degradation. In coastal-influenced areas like Milpitas, moisture from morning fog and seasonal rains penetrates deep into the masonry, initiating a process of slow decay that weakens the entire system.
Why Bricks Explode: Understanding Spalling
Spalling occurs when moisture gets trapped inside the porous structure of a brick. When temperature shifts occur, this trapped water expands, exerting internal pressure on the brick. Over time, the face of the brick literally pops off, crumbling into debris and leaving the soft, powdery interior of the brick exposed to the elements. Once a brick begins to spall, its structural integrity is permanently compromised, and it must be carefully cut out and replaced by an experienced mason.
Below is a quick-reference guide comparing healthy masonry features with common warning signs that require immediate professional attention:
| Masonry Component | Healthy State Indicators | Warning Signs / Damage Symptoms | Required Corrective Action |
|---|---|---|---|
| Mortar Joints | Solid, flush with bricks, no crumbling or powdery residue. | Cracking, missing chunks, powdery texture when scraped. | Professional tuckpointing to restore joint depth. |
| Brick Face | Smooth, hard exterior glaze intact, uniform color. | Flaking, chipping, crumbling face, white powdery staining. | Individual brick replacement and masonry sealing. |
| Chimney Crown | Smooth concrete slope shedding water away from flue. | Deep fissures, chunks missing, vegetative growth in cracks. | Crown rebuilding or application of elastomeric sealant. |
| Flue Liner | Continuous, smooth surface without gaps or cracks. | Cracked clay tiles, falling debris in firebox, missing mortar joints. | Chimney relining with a stainless steel sleeve. |
The Art and Science of Tuckpointing
Mortar is intentionally designed to be softer than the surrounding bricks so that it absorbs the natural movements of the structure. Consequently, mortar joints typically last only a fraction of the lifespan of the bricks themselves. Tuckpointing is the specialized process of grinding out this deteriorated, crumbly mortar to a precise depth and packing in fresh, color-matched mortar. When done correctly, tuckpointing restores the compressive strength of the wall and prevents water from migrating into the interior cavity.
The Dangers of Using the Wrong Mortar Mixture
A common mistake made during amateur repairs is using modern, highly rigid Portland cement to patch historic or older lime-based mortar joints. Because modern cement is incredibly hard and does not flex, any thermal expansion or structural movement will cause the surrounding vintage bricks to crack and crush instead of the mortar. Certified professionals understand how to analyze your existing brickwork to blend a custom mortar mix that matches the strength, flexibility, and permeability of your original structure.
Water: The Ultimate Silent Destroyer of Masonry
Water does more damage to residential brick structures than almost any other force. While a fireplace is designed to handle extreme heat from the inside, its exterior must be carefully shielded from water intrusion to prevent rapid decay.
The Critical Role of the Concrete Chimney Crown
At the very top of your chimney sits the crown, a concrete slab designed to shed rainwater away from the brick face. Unfortunately, many builders construct crowns out of standard mortar mix rather than a true concrete pour. Mortar crowns shrink as they cure, leading to fine cracks that act like funnels for rainwater. When water penetrates these cracks, it washes out the internal mortar joints from the top down, slowly destabilizing the entire upper portion of the stack.
Flashing Failures at the Roof Line
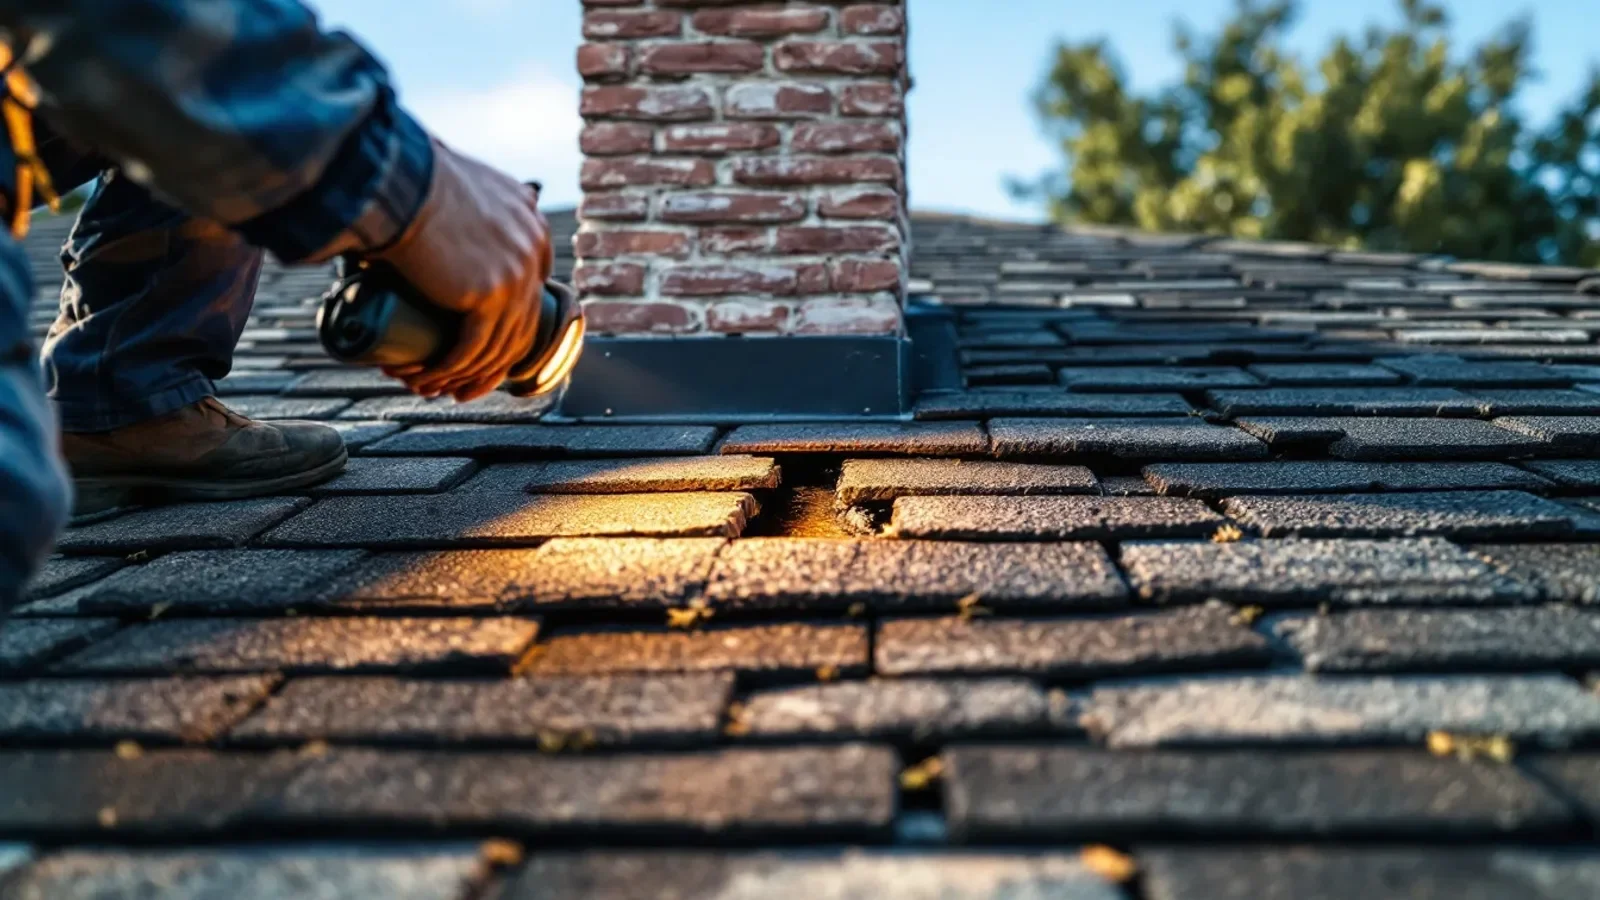
Where your brickwork passes through your roof, a multi-layered system of metal flashing (including step flashing and counter-flashing) prevents rainwater from seeping into your attic. If this metal becomes rusted, or if the sealant backing it fails, water will run down the hidden side of the masonry. Homeowners often do not realize this is happening until they notice rotting drywall, ceiling stains, or musty odors in the rooms adjacent to the fireplace.
Why Regular Chimney Cleaning Keeps Water Damage in Check
While chimney cleaning is primarily associated with removing soot and creosote to prevent chimney fires, it also serves as an important diagnostic tool. During a thorough sweep, professionals clear away the debris and soot build-up that can trap moisture against the interior flue walls. Keeping these surfaces clean prevents acidic moisture from eating away at clay flue tiles and metal liners over time.
Evaluating the Flue Liner: Inner Safety and Airflow
The interior flue liner is the most important safety barrier in your entire fireplace system. It contains the intense heat of combustion and channels toxic byproducts, including carbon monoxide, safely out of your home. Because the flue liner is hidden from direct view, its deterioration often goes unnoticed until a major failure occurs.
The Anatomy of Clay Tile Flue Liners
Many homes in the Milpitas area feature traditional clay tile liners. These modular tiles are stacked inside the brickwork and sealed at the joints with refractory mortar. Over time, the rapid heating and cooling cycles of your fireplace can cause these tiles to crack, split, or flake off (a process known as shaling). Once a clay tile is cracked, heat can transfer directly to the combustible wood framing of your home, creating a serious fire hazard.
Upgrading to Stainless Steel Liners
When an old clay liner fails, the standard modern solution is to install a UL-listed stainless steel flue liner. These flexible, continuous steel tubes run from the fireplace throat all the way to the top of the chimney. They are highly resilient, accommodate thermal expansion without cracking, and are insulated to keep flue temperatures high, which significantly reduces creosote buildup.
How Chimney Cleaning Supports Flue Integrity
Over months of burning wood, a highly flammable substance called creosote accumulates on the inner walls of your flue. Regular chimney cleaning strips this layer away. If creosote is allowed to build up, it can ignite, causing an intense chimney fire that can easily crack your flue liner and destroy the surrounding brickwork in a matter of minutes.
The Multi-Step Professional Masonry Restoration Process
Restoring a damaged masonry structure requires a systematic approach that addresses both the visible aesthetic issues and the hidden structural weaknesses. Professional chimney technicians follow a strict, multi-stage restoration process to ensure long-lasting results.
Step 1: The Level II Camera Inspection
Every proper repair project begins with a comprehensive inspection. Technicians use specialized, high-resolution cameras lowered down the length of the flue to inspect every joint, tile, and internal cavity. This allows them to locate cracks, blockages, or structural shifts that are completely invisible from the hearth or the roof line.
Step 2: Preparing the Work Area and Grinding Mortar
Before any masonry work begins, technicians set up protective drop cloths and dust containment systems around your hearth. Using diamond-tipped tuckpointing grinders with integrated vacuum shrouds, they carefully remove the damaged mortar joints, cleaning out old debris to create a clean, stable channel for the new mortar to bond with.
Step 3: Repointing, Rebuilding, and Sealing
With the joints prepared, fresh refractory or lime-based mortar is packed into the spaces. If any bricks are structurally compromised, they are removed and replaced with matching units. Once the masonry repairs are complete and cured, a breathable, water-repellent sealant is applied to the exterior brickwork. This specialized sealant keeps liquid water out while still allowing internal moisture vapor to escape, preventing future spalling cycles.
Frequently Asked Questions About Milpitas Chimney Repair
How do I know if my chimney has structural issues?
Look for clear warning signs such as a visible tilt away from the house, crumbling bricks on your lawn or roof, vertical cracks running through multiple bricks, or mortar that crumbles when poked with a screwdriver. Inside, look for water stains on ceilings or walls near the fireplace.
Can I perform tuckpointing on my own brickwork?
Tuckpointing requires specialized tools and deep knowledge of mortar chemistry. Using the wrong mortar mix can trap moisture and cause permanent structural damage to your bricks. It is always best to hire a licensed masonry professional to ensure structural integrity.
How often should I have my fireplace inspected in Milpitas?
According to the National Fire Protection Association (NFPA), chimneys, fireplaces, and vents should be inspected at least once a year. Regular inspections help catch minor mortar deterioration and water intrusion before they turn into major structural failures.
Why is there a white powdery residue on my chimney bricks?
This white residue is called efflorescence. It occurs when water penetrates the brickwork, dissolves natural salts within the masonry, and then evaporates, leaving the salt deposits behind on the surface. While the salt itself isn’t dangerous, it is a clear warning sign of active moisture intrusion that needs to be addressed.
Protect Your Home’s Structural Integrity Today
Ignoring signs of crumbling mortar, cracked brickwork, or a shifting stack can lead to catastrophic structural failures and severe safety risks for your household. Protect your property value and restore peace of mind by contacting the local experts at Nation Wide Chimney Sweep & Repair Concord to schedule your professional chimney inspection and repair today.